Your Profile
Your profile contains personal settings, notification preferences, and security options. Access it by clicking your username in the bottom right corner of the screen and selecting Profile.
Account Settings
Account Settings allows you to manage your personal information and how you appear to other users in the system.
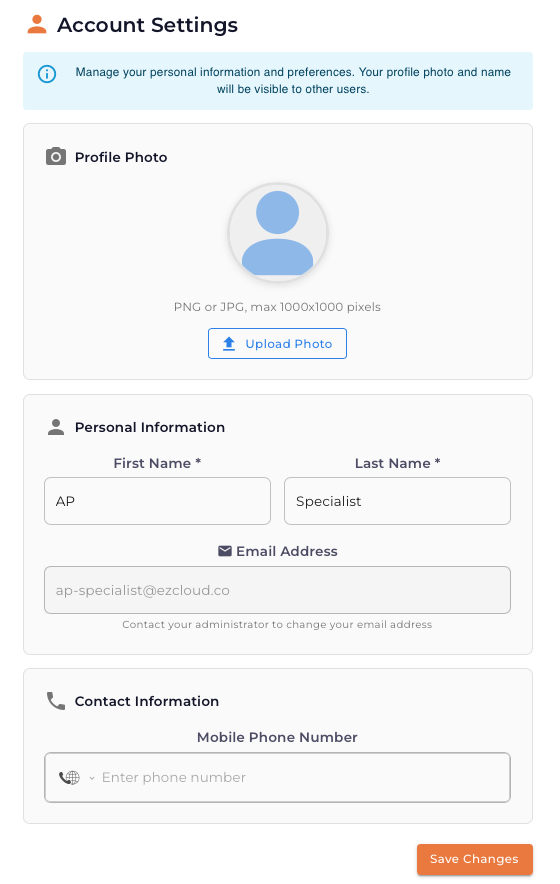
Profile Photo
Upload a profile photo to help colleagues identify you in the system.
| Setting | Description |
|---|---|
| Format | PNG or JPG |
| Maximum Size | 1000x1000 pixels |
To upload a photo:
- Click Upload Photo
- Select an image file from your computer
- The photo will be cropped and resized automatically
Personal Information
| Field | Description |
|---|---|
| First Name | Your first name (required) |
| Last Name | Your last name (required) |
| Email Address | Your login email (read-only—contact your administrator to change) |
Contact Information
| Field | Description |
|---|---|
| Mobile Phone Number | Optional phone number for urgent notifications |
Click Save Changes to update your profile.
Email Notifications
Email Notifications controls how and when you receive emails about invoice workflow activities.
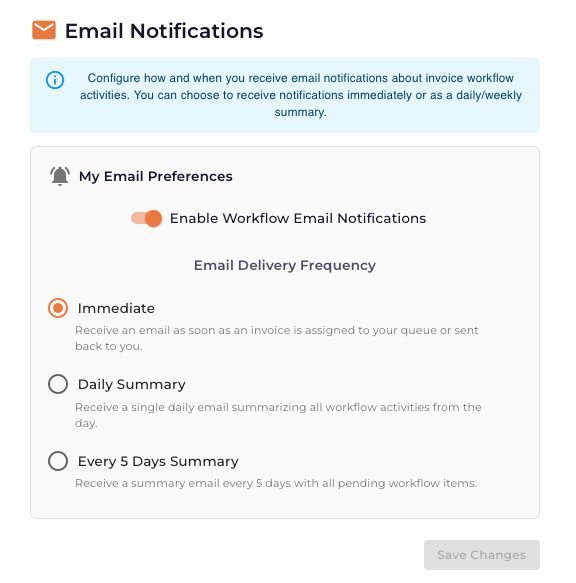
My Email Preferences
Enable/Disable Notifications
Use the Enable Workflow Email Notifications toggle to turn email notifications on or off entirely.
Email Delivery Frequency
Choose how often you want to receive notification emails:
| Option | Description |
|---|---|
| Immediate | Receive an email as soon as an invoice is assigned to your queue or sent back to you |
| Daily Summary | Receive a single daily email summarizing all workflow activities from the day |
| Every 5 Days Summary | Receive a summary email every 5 days with all pending workflow items |
How to Configure
- Navigate to Profile → Email Notifications
- Toggle Enable Workflow Email Notifications on or off
- Select your preferred Email Delivery Frequency
- Click Save Changes
For active AP team members processing invoices daily, Immediate notifications help ensure timely responses. For managers or occasional approvers, Daily Summary reduces inbox clutter while keeping you informed.
Out of Office Settings
Out of Office Settings allows you to set up automatic delegation of invoices when you're away from work.
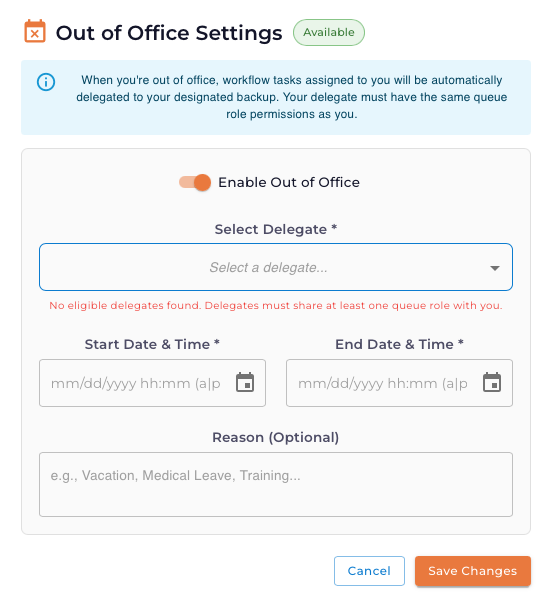
What Happens When Out of Office is Enabled
When you enable Out of Office:
- Workflow tasks assigned to you are automatically delegated to your designated backup
- You stop receiving email notifications about new assignments
- Your name shows an OOO indicator in the system
- When the end date passes, normal routing resumes automatically
Setting Up Out of Office
| Field | Description |
|---|---|
| Enable Out of Office | Toggle to activate OOO status |
| Select Delegate | Choose who will receive your invoices while you're away (required) |
| Start Date & Time | When your OOO period begins |
| End Date & Time | When your OOO period ends |
| Reason | Optional note (e.g., "Vacation", "Medical Leave", "Training") |
How to Set Out of Office
- Navigate to Profile → Out of Office Settings
- Toggle Enable Out of Office on
- Select a delegate from the dropdown
- Set your Start Date & Time
- Set your End Date & Time
- Optionally add a Reason
- Click Save Changes
Your delegate must share at least one queue role with you. If no eligible delegates are available, contact your administrator to ensure proper role assignments.
Canceling Out of Office Early
If you return earlier than expected:
- Navigate to Profile → Out of Office Settings
- Click Cancel or toggle Enable Out of Office off
- Normal workflow routing will resume immediately
Administrators can also manage Out of Office status for any user from Administration → Out of Office Management. See Out of Office Management for administrator options.
Account Security
Account Security allows you to change your password to keep your account secure.
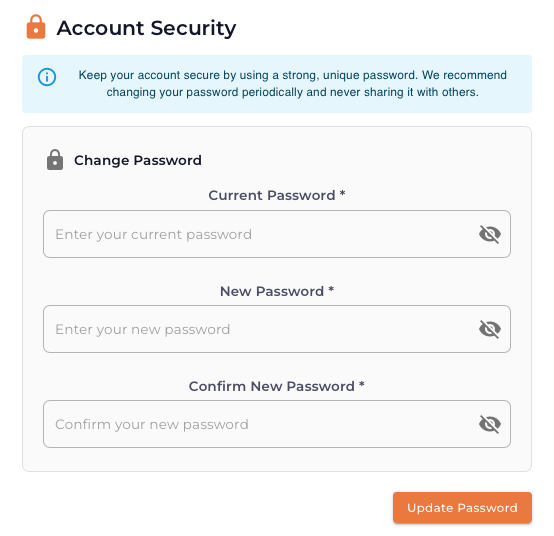
Password Requirements
For optimal security, your password should:
- Be at least 12 characters long
- Contain uppercase and lowercase letters
- Include numbers and special characters
- Not be reused from previous passwords
Changing Your Password
- Navigate to Profile → Account Security
- Enter your Current Password
- Enter your New Password
- Enter your new password again in Confirm New Password
- Click Update Password
Change your password periodically (every 90 days is recommended) and never share it with others. Use a unique password that you don't use for other accounts.
Company Details
Company Details allows you to customize your organization's branding within EZ Cloud.
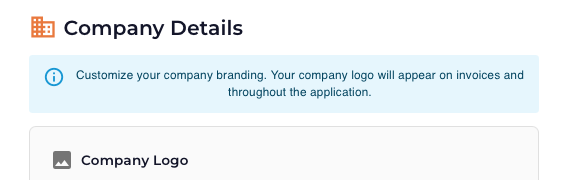
Company Logo
Upload your company logo to personalize the application. Your logo will appear:
- On invoices
- Throughout the application interface
To upload a logo:
- Navigate to Profile → Company Details
- Click to upload your company logo
- Select an image file from your computer
Company Details may only be editable by users with administrator permissions, depending on your organization's configuration.
Quick Reference
| Setting | Location | Purpose |
|---|---|---|
| Profile Photo | Account Settings | Personal identification |
| Name & Email | Account Settings | Display name and contact |
| Notification Frequency | Email Notifications | Control email volume |
| Out of Office | Out of Office Settings | Delegate work while away |
| Password | Account Security | Account protection |
| Company Logo | Company Details | Organization branding |